
Thanks to ICanLocalize and WPML integration, translating your WordPress website is easy. Our translators work inside a specialized software that takes care of preserving the page layout and text formatting. They do not access your website so there are no security risks. All you need to do is configure WPML, activate ICanLocalize and choose the translator you prefer.
Requirements
In order to use ICanLocalize, you need a WPML Multilingual CMS subscription. The Translation Management plugin, available only with the WPML Multilingual CMS version, is required to connect your website to professional translation services.
Once you have purchased WPML Multilingual CMS, login to your account on wpml.org to download the following plugins:
- WPML Multilingual CMS: core plugin;
- WPML Translation Management: required to use translation services and the advanced functionalities of WPML;
- WPML String Translation: allows you to translate texts included in the theme, plugins, widgets and WordPress Admin.
There is also an optional suggested plugin, WPML Media, to use the same uploaded media in different languages.
If you need help to download, install and configure the plugins, WPML offers a comprehensive documentation, including an installation guide and a first configuration guide.
Connect your website with ICanLocalize
The new registration process requires an API token, which you can find here after logging in to your ICanLocalize account.
Once the required plugins are activated and configured, you can proceed to connect WPML to ICanLocalize. You do not need to have an ICL account beforehand, you can create it when you provide your website details. All the following steps are completely free; you can register your website to ICanLocalize, create an account and interact with translators without any fees or charges.
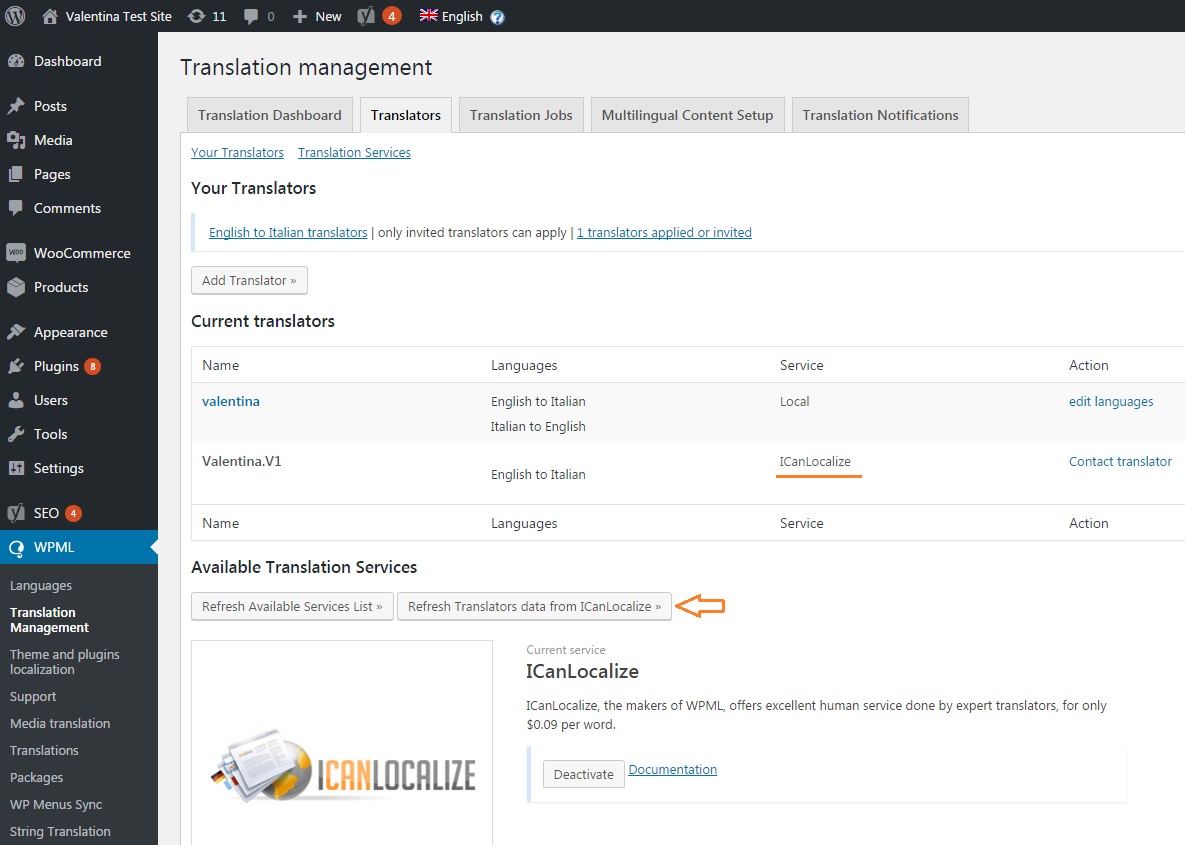
- In the WordPress admin area, go to WPML -> Translation Management and select the Translators tab.
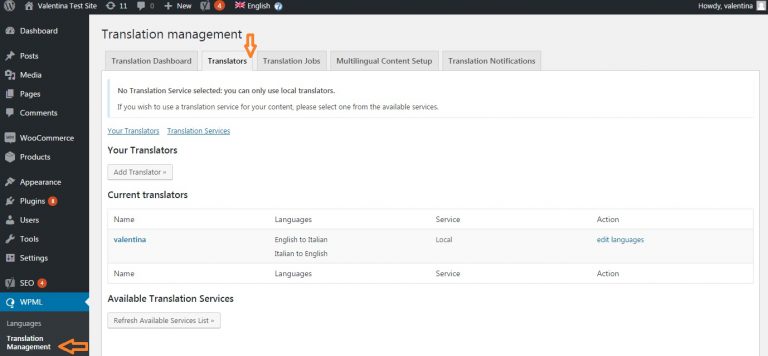
The Translators tab in WPML Translation Management.
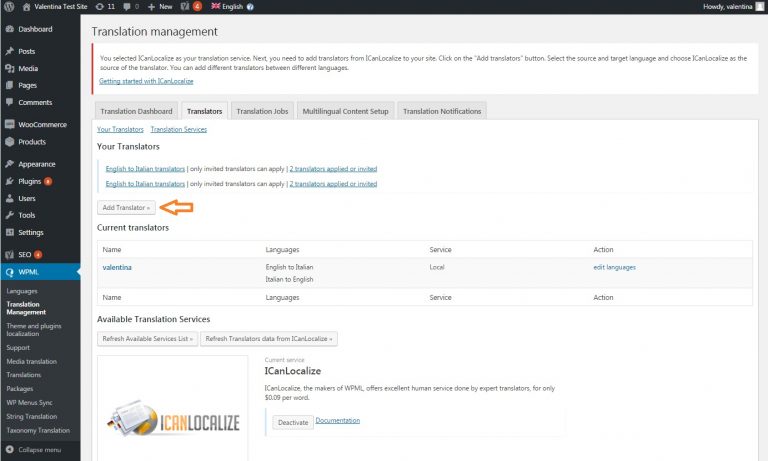
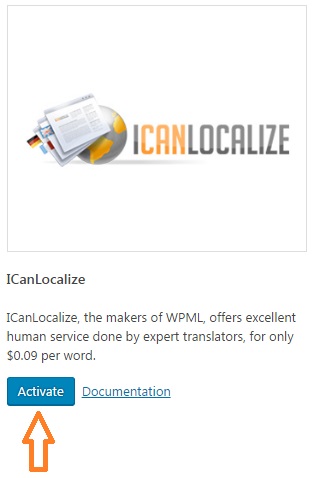
- Scroll down to the Available Translation Services section to find ICanLocalize and click the Activate
button.

- As soon as you activate ICanLocalize, you will see a message prompting you to add translators. To do so, click the Add Translator » button.
- Select the languages you need:
- Choose the source (original) language
- Choose the target language, the language you want to translate to
- Select the option “ICanLocalize”
- Click the Add Translator button
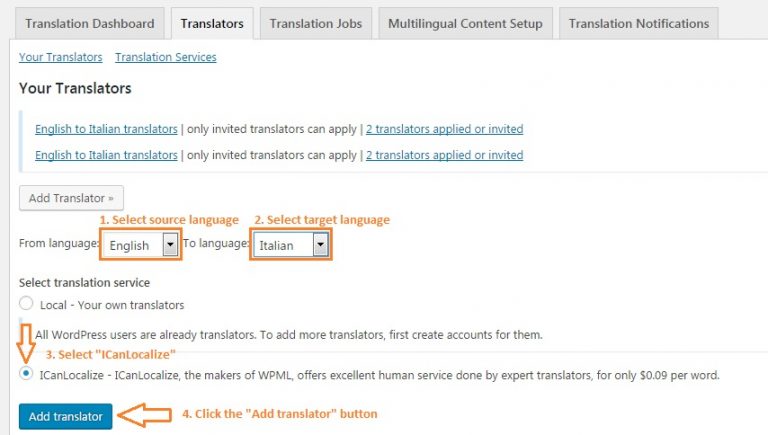
Select the languages you need translators for.
- A pop-up window will appear. Select I need translators and describe your website. You are welcome to use the Volume and deadline field to add any additional information. In the Sample text field you can provide an extract from your website in order to give translators an idea of the contents they will need to work on. If requested, they can also translate your sample text and you can evaluate their translation.
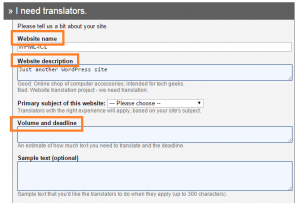
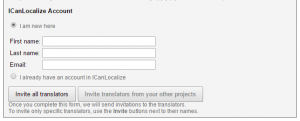
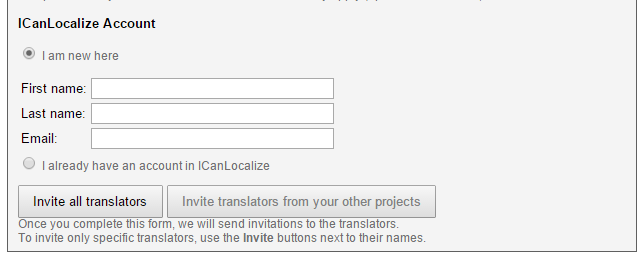
- The last section is dedicated to the ICanLocalize account. If you do not have one, just provide your first and last name and an email address. Click the Invite all translators button to complete the registration.


Interact with translator and choose your favourites
After inviting all translators to your project, you will see a pop-up window with the list of available translators in the language pair you requested. Let us look at the various options.
By default, the window will show you the translators who specified they are specialized in the subject of the website you defined at the registration stage. You are welcome to click the All [Source Language] to [Target Language] Translators to browse all available translators’ profiles. You might find the perfect match for your project even outside the pool of specialized translators.
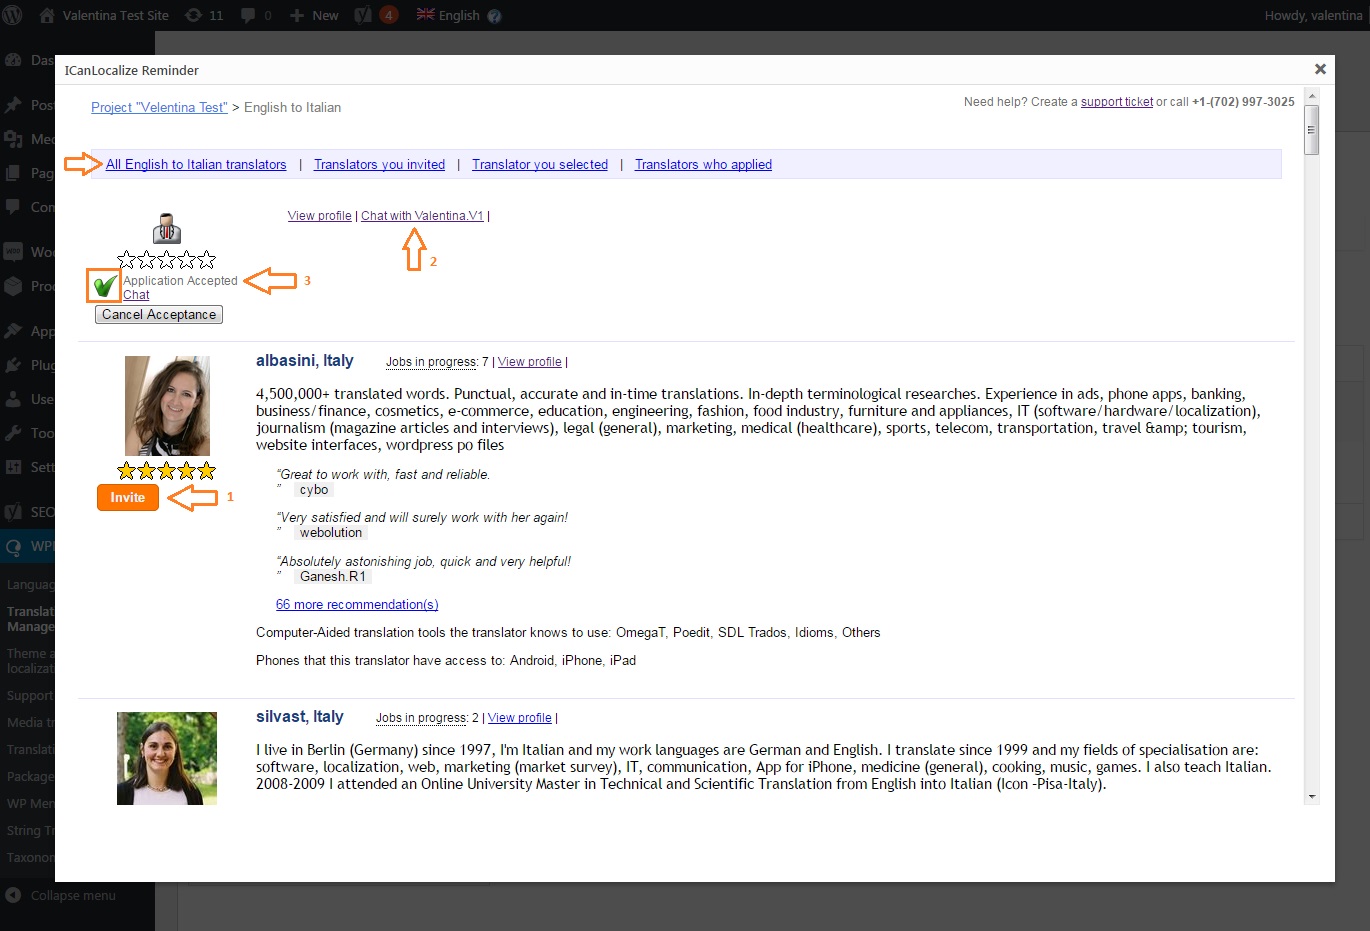
Translators’ list
If you invited all translators to your project, it means your website is visible and after some time translators will apply on their own and write you. If you want to speed up the process or a profile catches your attention, feel free to click the Invite button (1).
After clicking the Invite button, the private project chat with the invited translator will open. You can access it through the Chat with [Translator’s nickname] link (2). The project chat is fundamental during the translation process: here you can specify your requirements, define deadlines and ask any questions you might have. Do not hesitate to get in touch with our translators; they are all professional linguists who will be able to help with your doubts. Translation is a collaborative effort, get in touch with your translators and provide as much context as you can to ensure the best possible quality.
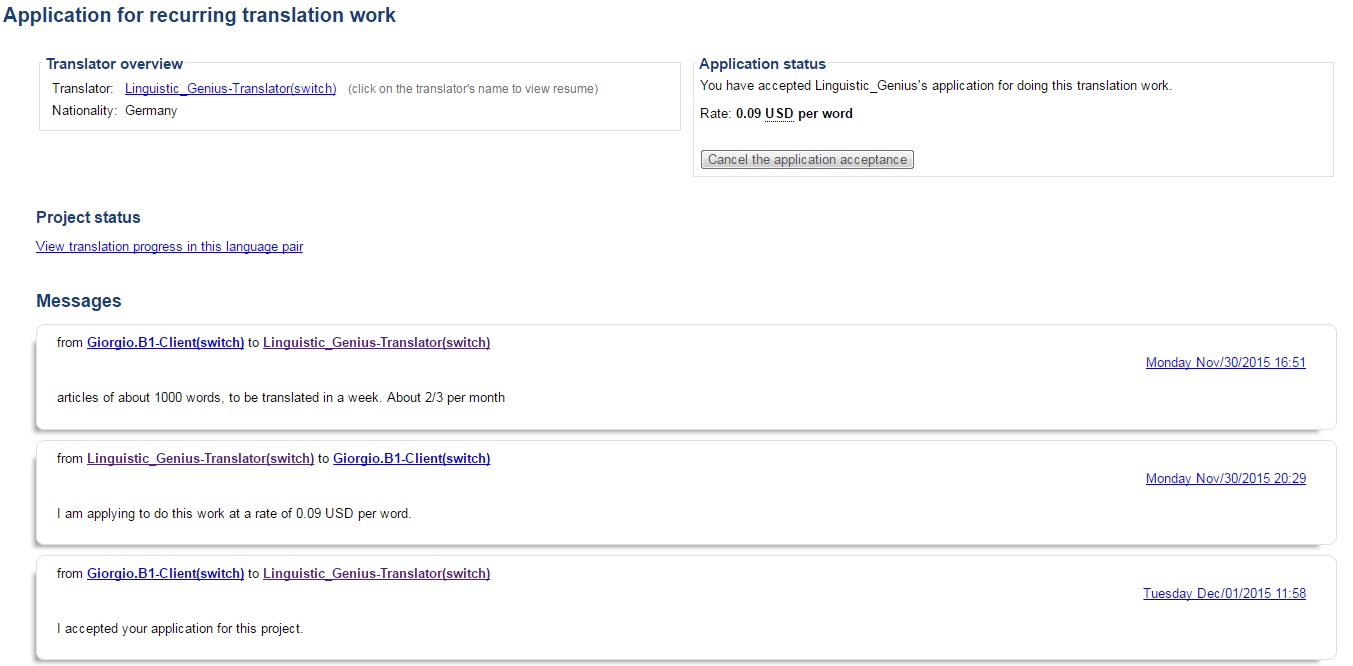
The project chat
Once you find a translator that satisfies your needs, click the Accept application button, which you can find at the top of the project chat and in the translators’ list. Once you accept a translator, you will see a green checkmark in the translator’s list (3).
Tip: If you accepted a translator on ICanLocalize but you don’t see it in your Translators tab, try to click the button Refresh Translators data from ICanLocalize ».
Now your project is completely set up and you are ready to translate your website.
Send contents to translation
In order to select the contents you want to translate, you can return to WPML -> Translation Management -> Translation Dashboard to select pages and posts or go to WPML -> String Translation if you need to translate strings.
WPML provides you a series of filters to help you search the desired contents.
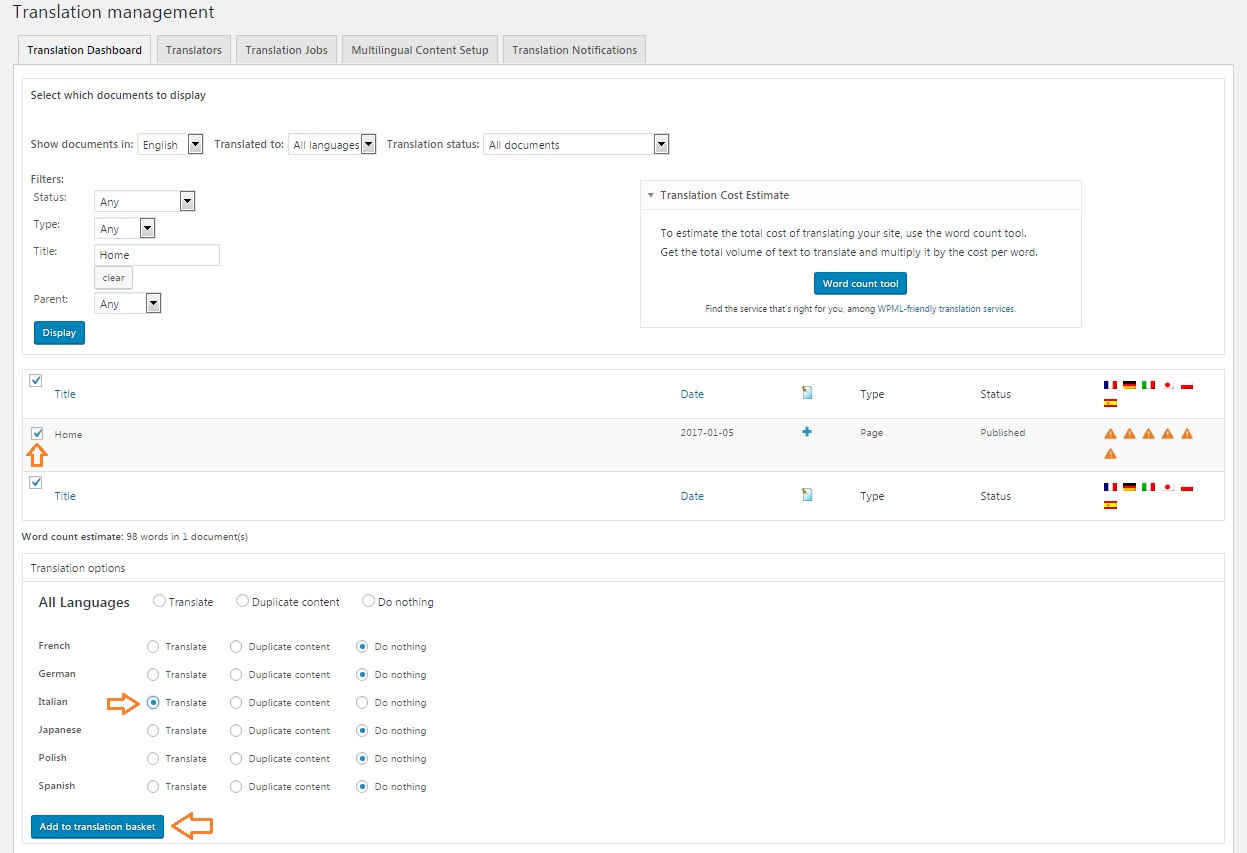
- Tick the checkboxes to select the items you want to translate
- Scroll down to the Translation options section, then choose the Translate option for the language in which there is an ICanLocalize translator assigned
- Click the Add to Translation Basket button

Select document in the Translation Dashboard list
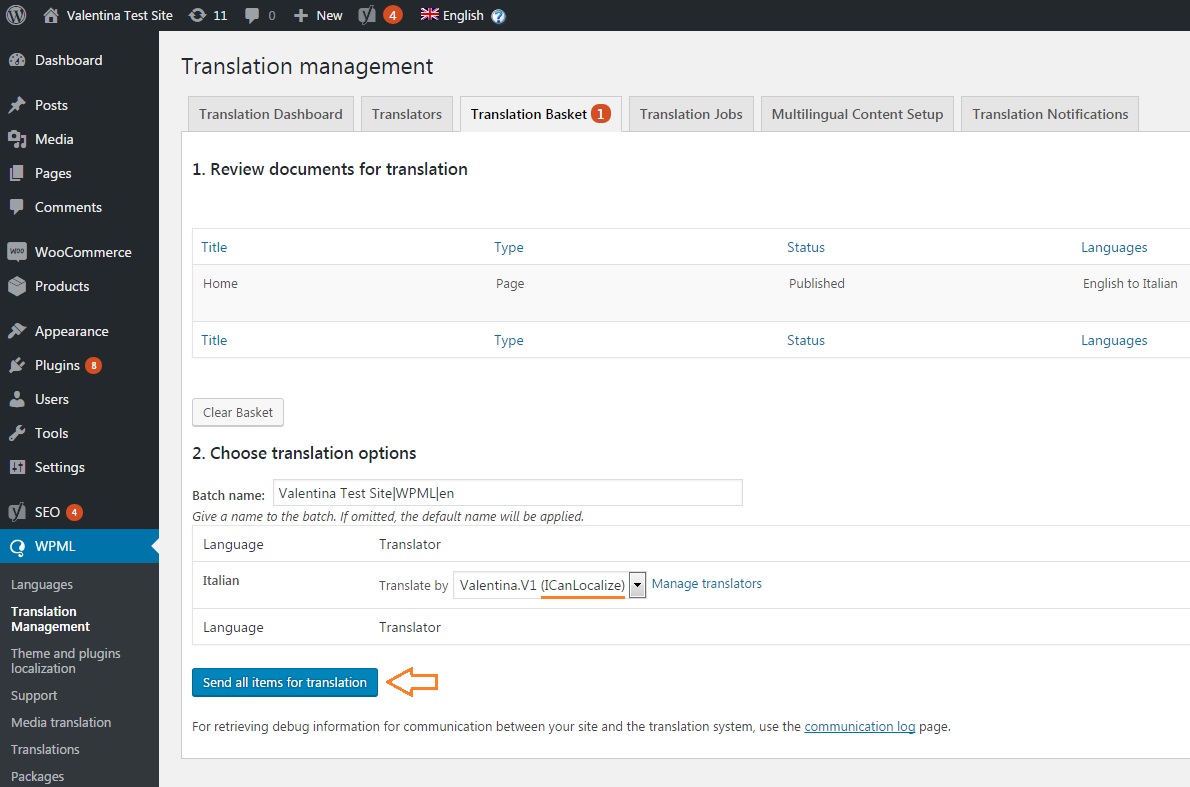
- You will notice a new tab just opened, with a flashing number. Select this new tab, the Translation Basket

Send the documents to translation from the Translation Basket
- In the Translation Basket, you can review the items to send to translation and the languages. You can also change the Batch name if you prefer to give it a more recognizable name, but it is optional
- Make sure to select an ICanLocalize translator in the Translate by drop-down menu
- Click the button Send all items for translation
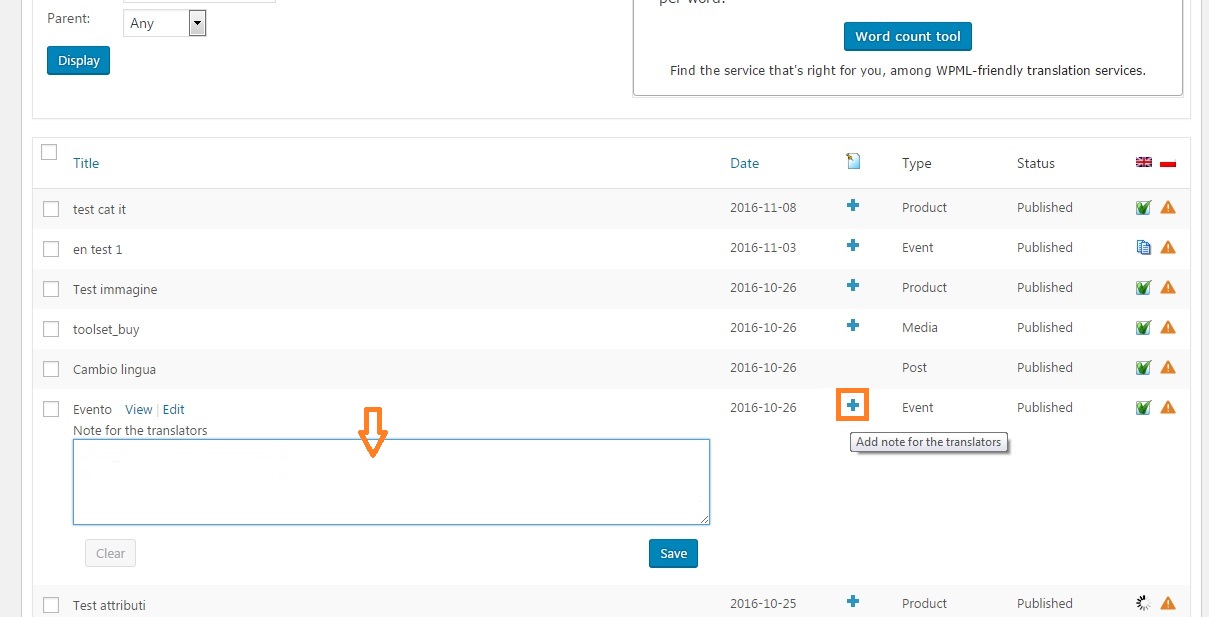
Tip: You can add notes with comments and specific requirements per document. Just click on the + sign in the Translation Dashboard list.
Review the contents sent and start the translation
After you sent successfully the contents from WPML, it is time to review them on ICanLocalize. You will find useful links to your ICanLocalize project page at the bottom of the Translation Dashboard in WPML -> Translation Management.
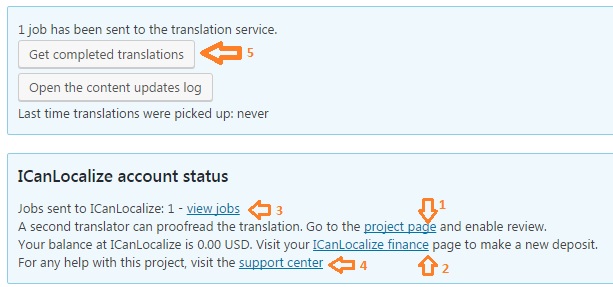
Links to ICanLocalize at the bottom of the Translation Dashboard
(1) The project page link brings you to the main project page on ICanLocalize. Here you will see all the contents you sent with their word count and price.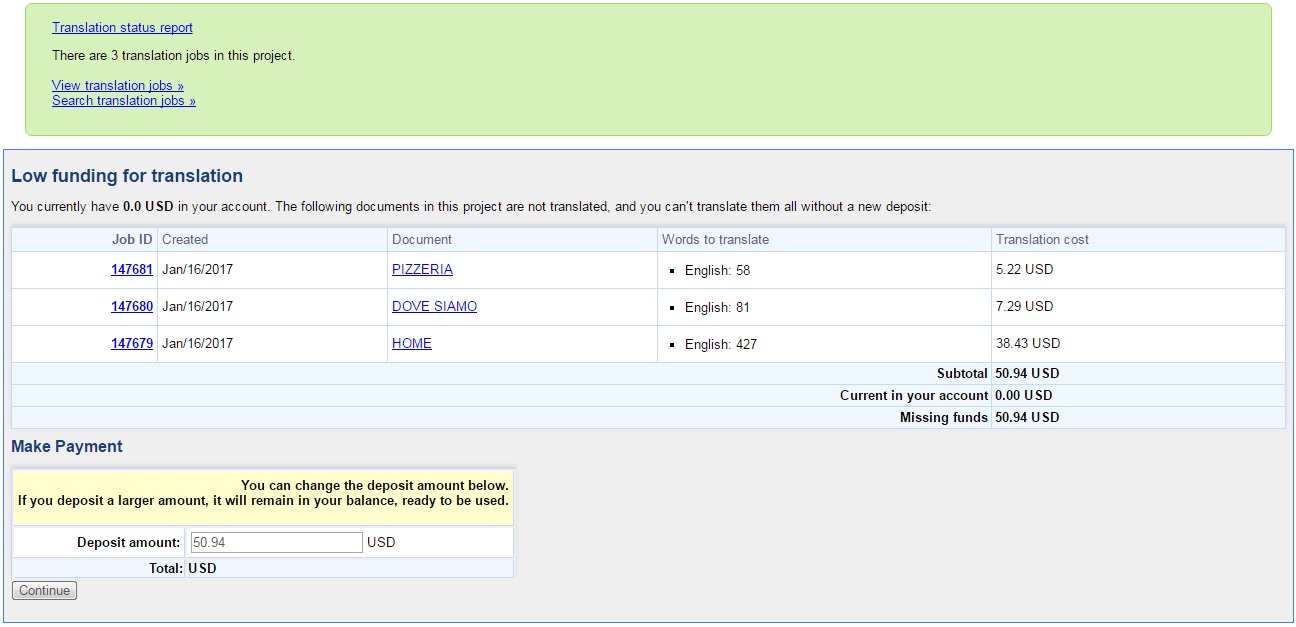
(2) In the ICanLocalize finance page, you can review all your transactions, deposit and withdraw money, download invoices.
(3) The view jobs link will show you a detailed list of all the contents sent and their translation status.
(4) In the support center page, you can find how to contact us. If you need any information, just open a support ticket and we will help you.
(5) Keep note of the button Get completed translations. If the translations are completed on ICanLocalize but you do not see them on your website, pressing this button will download them.
Translations return ready to be published on your website
After the translators complete the work, you will receive the translated contents directly on your website. You don’t need to worry about layout or formatting, our software and WPML take care of everything. You just need to choose if you want to download the translations automatically or manually.
If you prefer to have the translations download automatically, please go to WPML -> Translation Management -> Multilingual Content Setup, then in the Translation Pickup Mode section make sure that the option Translation Service will deliver translations automatically using XML-RPC is selected.
Regardless of the option selected, you can always click the Get completed translations button to download manually the translations.
You can also decide if you want to have the translated documents directly published or downloaded as drafts, so you can review and publish them when ready. You can find this option in WPML -> Translation Management -> Multilingual Content setup in the section Translated documents options.