
Get Better Than Human Translations for YAML Files with PTC
Private Translation Cloud (PTC) is our AI-powered translation tool for software projects. It supports YAML and other common resource file formats used in multilingual software development. PTC:
- Analyzes your project to understand context and delivers natural, accurate, and Better Than Human Translations.
- Provides continuous translation updates by monitoring your GitLab, GitHub, or Bitbucket repository for changes to YAML files.
- Delivers translations as merge requests, so there’s no need to upload or download files manually.
- Uses very low, flat-rate pricing with no per-word fees or extra charges.
YAML is a data serialization language designed to be human readable. It is used for configuration files and in applications where data is being stored or transmitted.
YAML stands for “YAML Ain’t Markup Language”. It can be used to structure the most common types of data and the YAML file extensions are usually .yaml or .yml.
The strings inside YAML files consist of key and value pairs separated by a colon followed by a space.
key_name: value
Since this structure is quite easy to read for humans, YAML has become a popular format for localization. The YAML format is a simple and powerful way to store the text of applications and internationalize (i18n) them.
Prepare the application for localization using YAML
The YAML file format is the default one used to internationalize Ruby On Rails applications, and it is supported by dozens of programming languages.
Here are some guides for common programming languages to internationalize your application:
- Ruby On Rails: see how to translate a RoR application on the Rails Guides.
- Symfony (PHP): learn how to use the Translation component in the Symfony Framework on the Symfony documentation.
- Ember (JavaScript): see how to use the ember-intl module in your application.
Get your YAML file translated using a software project in ICanLocalize
YAML files are easy to read for humans and you could use a text editor to localize them. However, the process would be slow and prone to errors. You need to be very careful when translating strings since small errors can make the file unusable, and not all translators are familiar with software localization.
With ICanLocalize, you can translate your YAML files through dedicated software localization tools. A parser will analyze the source file and extract all the text to translate. Translators will work only on the texts, without worrying about the file format.
1. Create the translation project
Register an account, log in and click the “New translation project” button at the top of the page. Then, select to start a new software project.
2. Upload the YAML file
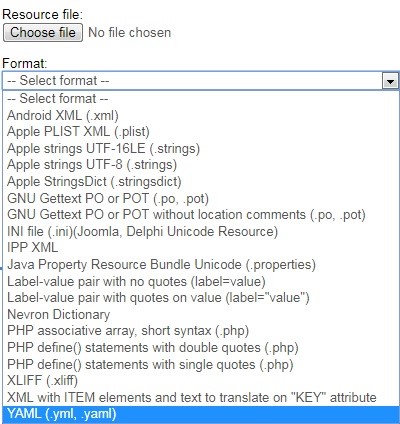 After selecting the name and language of your project, it’s time to upload the YAML file. Select the YAML file format from the drop-down menu and click the “Upload” button to import the file.
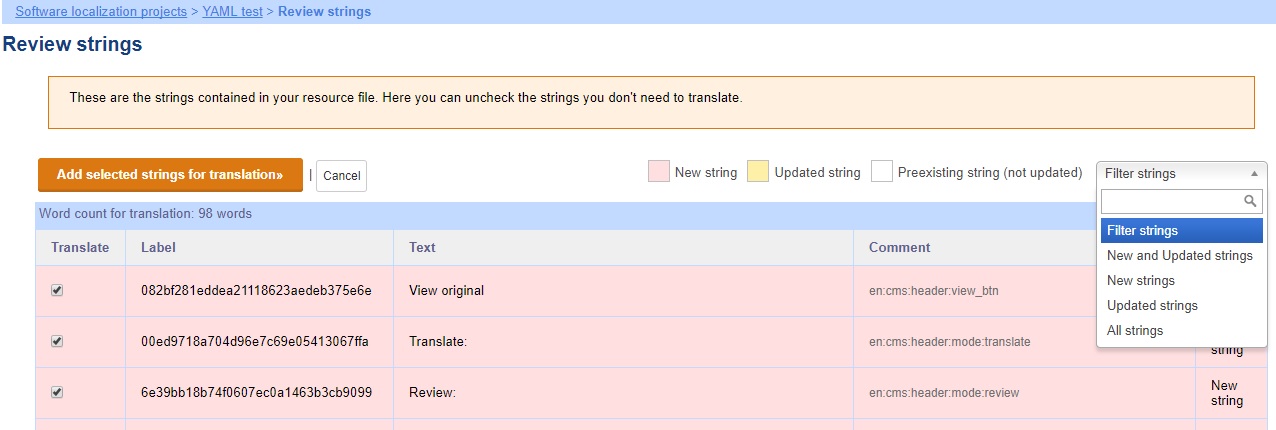
3. Add the strings to the project
The system will present the list of the strings found in the file. You can review them and also choose exactly which ones you want to translate. The word count is also done automatically and you can see at the top of the table how many words are to be translated.
When you are ready to add the strings to the project, click the button “Add selected strings for translation”.
4. Start the translation
If you want the first available translator to take your project, you can just deposit the payment and wait for the work to be completed. Otherwise, you can choose to invite translators and select the ones you prefer; you will proceed with the deposit to start the translations only after translators are assigned.
5. Get the localized YAML file
When the translation is complete, you can download the localized files which will have the same structure as the original.
Here is an example of an original YAML file and its translated content:
| Original file in English | Localized file in Spanish |
| en: shared: reset: ‘Reset’ filter: ‘Filter’ home: ‘Home’ actions: ‘Actions’ ‘no’: ‘No’ ‘yes’: ‘Yes’ organization: account_confirmed: ‘Your account has been confirmed’ signed_in: ‘You were successfully signed in’ |
es: shared: reset: ‘Reiniciar’ filter: ‘Filtrar’ home: ‘Principal’ actions: ‘Acciones’ ‘no’: ‘No’ ‘yes’: Sí organization: account_confirmed: ‘Hemos confirmado tu cuenta’ signed_in: ‘Sesión iniciada correctamente’ |
Import the translated YAML files in your application
The translated YAML files need to be placed in the directories where your application contains the resource files for each supported locale.
We localized our own translation editor, WebTA, using YAML. The next screenshot was taken from RubyMine, a widely used Rails development tool. The language resource files are in the “locales” directory, and each locale is identified by the language ISO code.
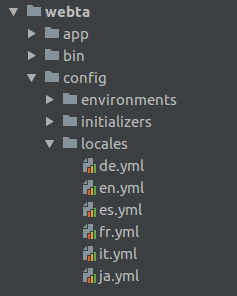
Language resource files in RubyMine
Update the translations
Your application can grow or you might need to make changes to the original texts. You can easily update the translations in the same software project you created for the initial files.
You can upload the updated source files in the “Resource files” section, making sure to select the option “Ignore duplicate strings”. Strings that were already translated will be automatically completed applying the translations stored in the system. The new or modified strings will be identified and you will see a summary of the new words and their cost before proceeding with the deposit to start the translation.
Ready to get started?
You can register an account and create your project in just a few clicks. It’s completely free so you can check how the system works and get a quote after uploading your file. If you have any doubts you are always welcome to contact us or open a support ticket, our team will gladly help you set up your localization project.